Table Of Contents :
- What you’ll need
- Install the Scoppy Android App
- Install the Firmware onto your Pi Pico Board
- Connect the Pi Pico Board to your Phone/Tablet
- Connect the test Signal
- Wrapping Up
What you’ll need
- An Android device that’s running Android version 6.0 (Marshmallow) or higher. The device must also support USB OTG (On-The-Go) – most modern phones/tablets do (if you don’t see the app when browsing the Play Store, then your device probably doesn’t support this feature).
- A USB OTG adapter/cable compatible with your phone/tablet.
- A Raspberry Pi Pico board.
Note:- Please use the latest versions of the App (v1.010) and Firmware (v2). Older versions of the firmware will not work with the newest version of the app and vice versa.
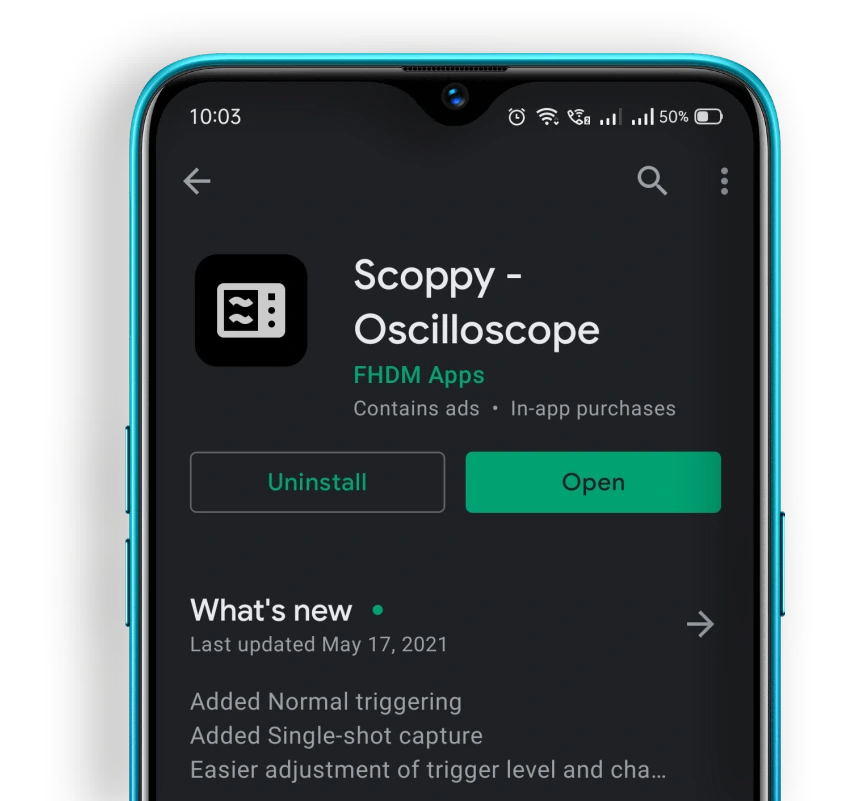
Install the Scoppy Android App
Install the Scoppy Android app from the Play Store.
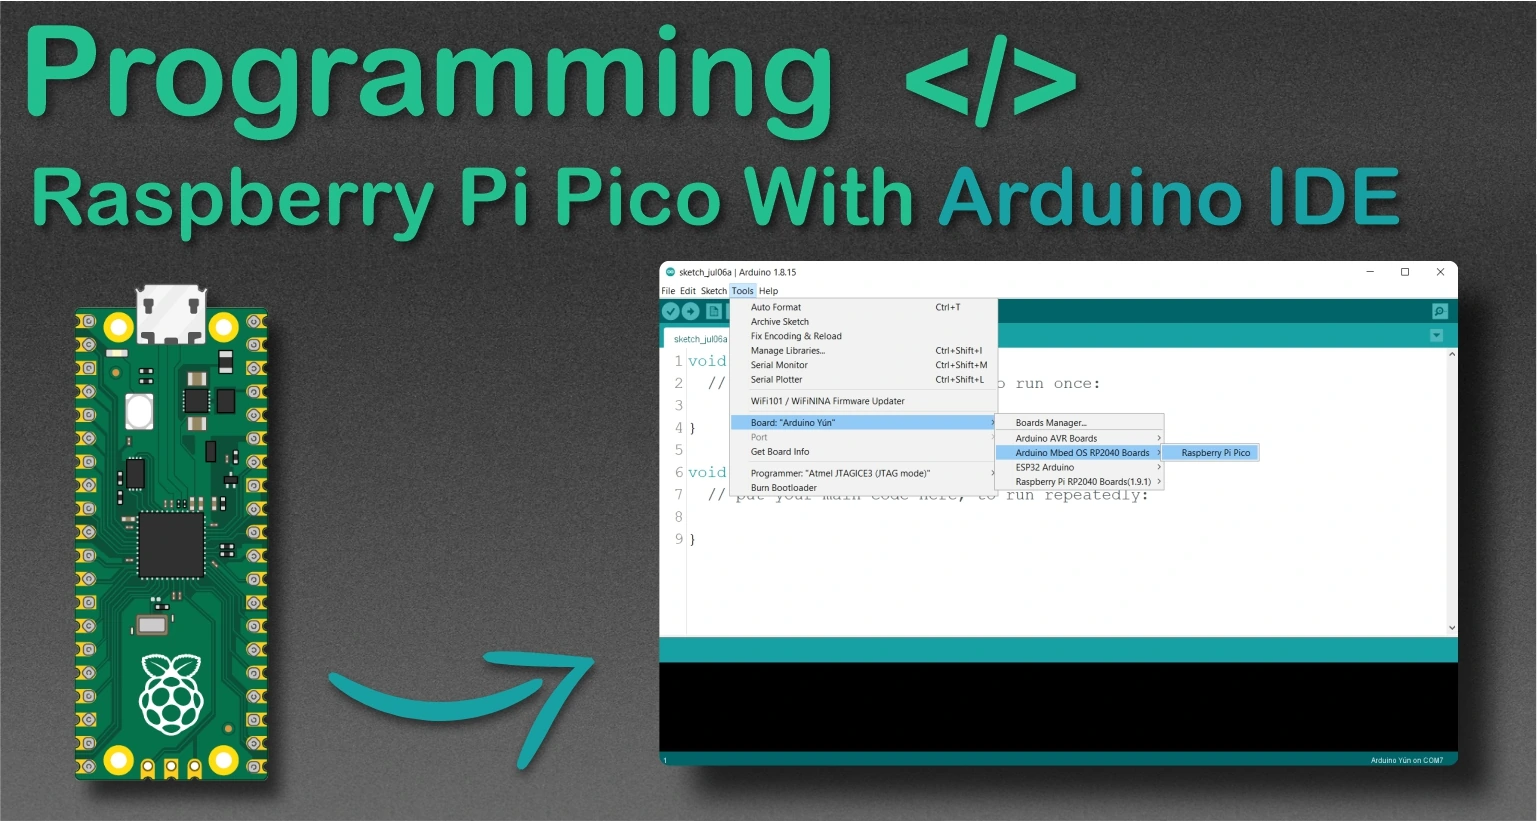
Install the Firmware onto your Pi Pico Board
Download the firmware onto your computer. It is here: pico-scoppy-v2.uf2. After downloading the firmware, Let’s connect the Pi Pico board to your computer by pressing the BOOTSEL button and connect it to your computer.
After connecting the Pi Pico, you will get the notification on the bottom right side of your screen as shown in the photo click on the notification.
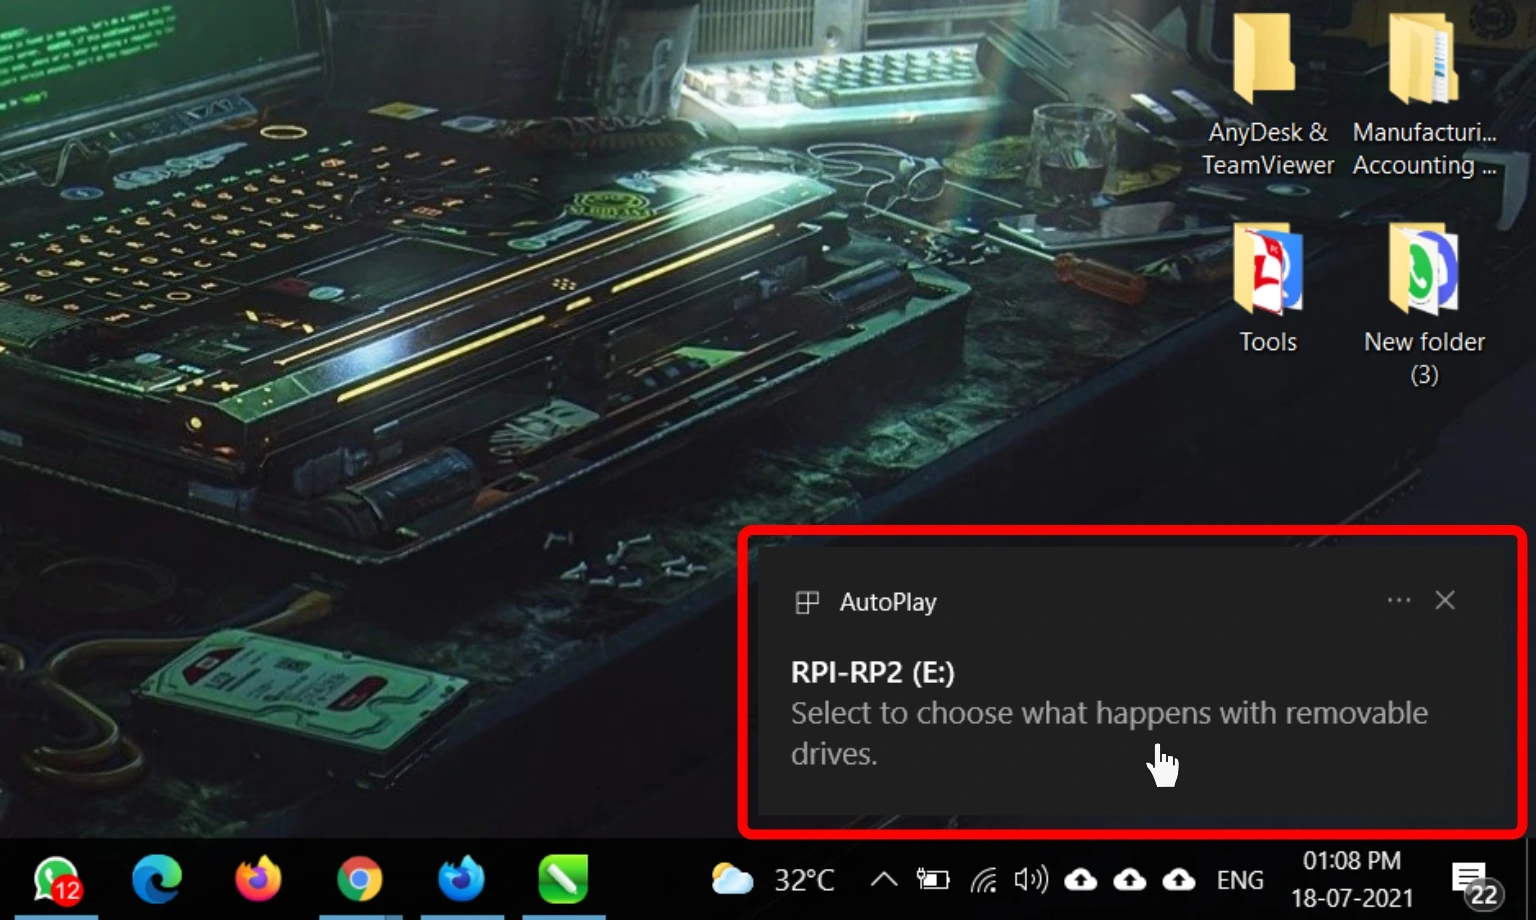
After clicking the notification, you will find some options on the top right side of your screen as shown in the photo click on the Open Folder.

and Copy the pico-scoppy-v2.uf2 firmware file that you have downloaded. After pasting the file, The onboard LED should start blinking.

Connect the Pi Pico Board to your Phone/Tablet
Attach the OTG adapter/cable to the USB input of the Android device. The other end attaches to the USB cable you have connected to your Pi Pico.
After connecting the Pi Pico to the Phone/Tablet, Open the Scoppy app, which we have downloaded from the play store. Once the Scoppy app opens, you will get the Allow Scoppy To Access Pico? Permission,
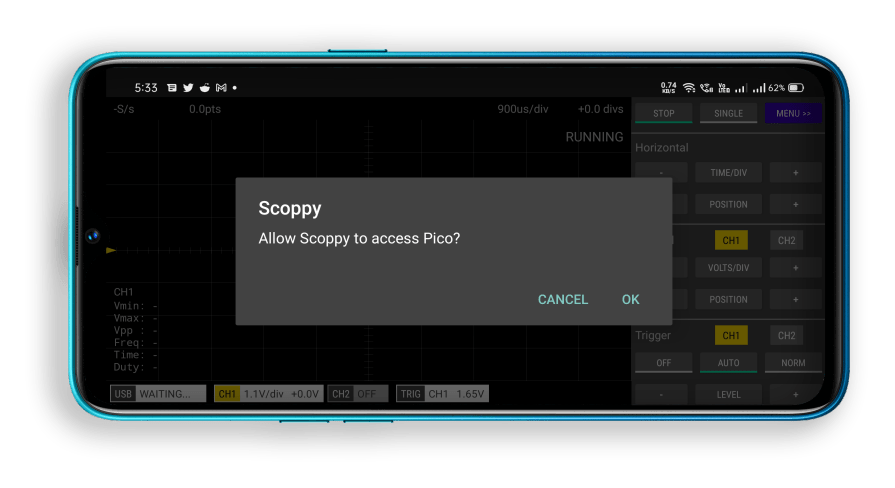
then click OK to establish the connection between the Pi Pico and Scoppy app. The onboard LED of Pi Pico should stop blinking. And then, you will find the data of Pi Pico will display in the scoppy app.

In Case you did not get the “Allow Scoppy To Access Pico?” Permission Then, you may need to tap the ‘Run’ button in the app (Scoppy will either be RUNNING or STOPPED. This status is displayed at the top right of the grid).
Connect the test Signal
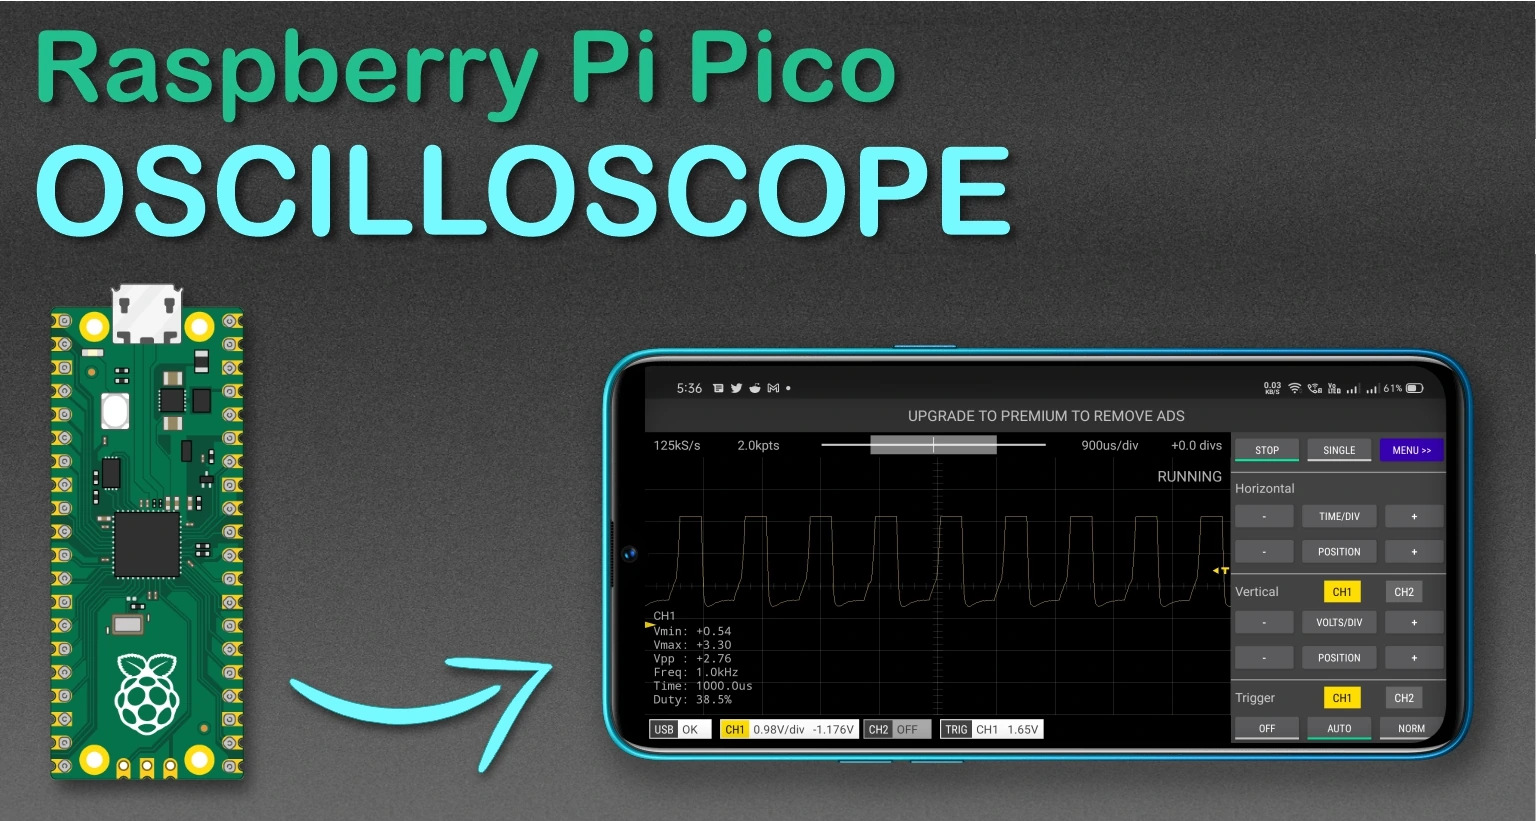
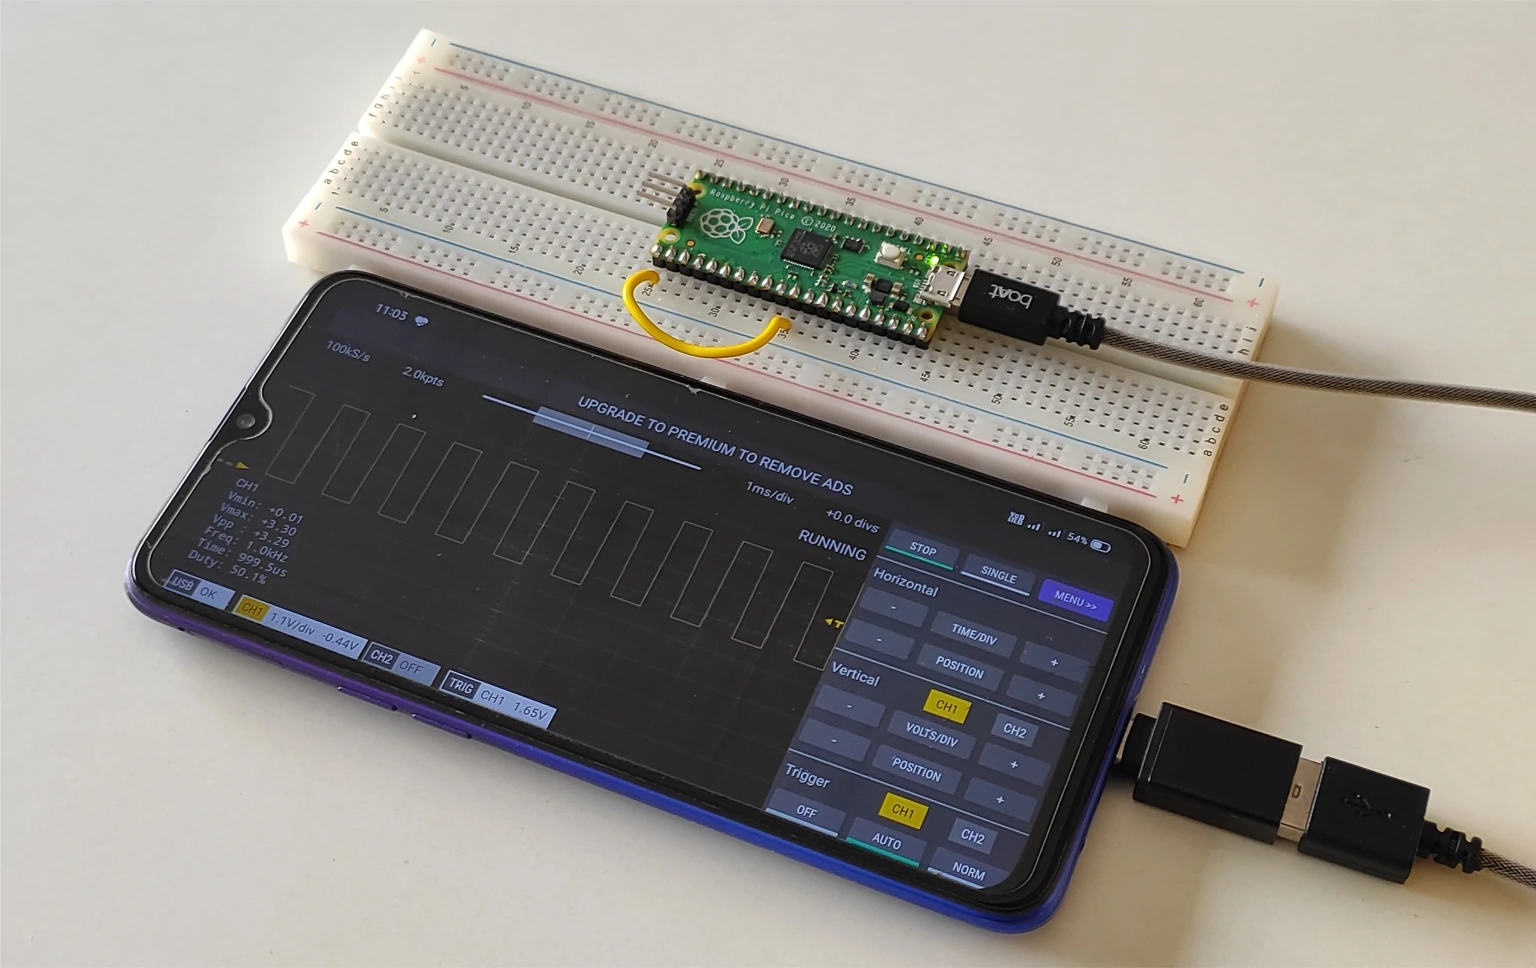
A 1kHz test signal is generated on GPIO 16. The inputs for Channel 1 & 2 are GPIOs 26 and 27, respectively. So to view the test signal on Channel 1 of the scope, connect GPIO 16 directly to GPIO 26. Hopefully, you’ll now see some sort of waveform in the app. The horizontal scale will probably be wrong, so adjust this using the ‘Horizontal’ + and – buttons.
Wrapping Up
The tutorial shows how easily you can build an Oscilloscope using Pi Pico
Also, this project gives electronics beginners, and hobbyists access to an ultra-cheap oscilloscope to view low voltage, low-frequency signals.


How fast is it? Whats the maximum of incoming signal? 1khz test signal is fine. but am I able to check 1Mhz signals?
Is there any kind of code open source that we can modify it? App/Firmware?
Hello, you can find more details on this project at the scoppy Github repo.